Monday, July 15, 2013

Christmas in July 2013

 I made a couple of cards today and  pulled my inspiration from some traditional holiday colors. I kept the backgrounds the same to make cutting easier if I made multiples of the same cards. I started playing and ended up using - an ivy embossing folder, a Martha border punch, my Cricut machine, some ribbon, pop dots and a touch of sparkle. 

  Love the green gingham paper which is a great staple as it doesn't have to be Christmas at all. 

Sunday, July 7, 2013

Echo Park -Black envelope mini


This afternoon I decided to take out my project that I started a couple of months ago. I completed the cover this afternoon..  Now, I need to add the photos.  My husband put up my white upper cabinets in my craft room yesterday!   Maybe it will motivate me to get back in there. 

 
 Here's a view of the spine.  I loved this paper and noticed there are two xmas lines by Echo Park from different years that could be mixed together if you were running short of paper for a mini.  The base of this book is done with black envelopes.  There are little flaps inside for pull outs.  I will post some interior shots later.

Saturday, April 20, 2013

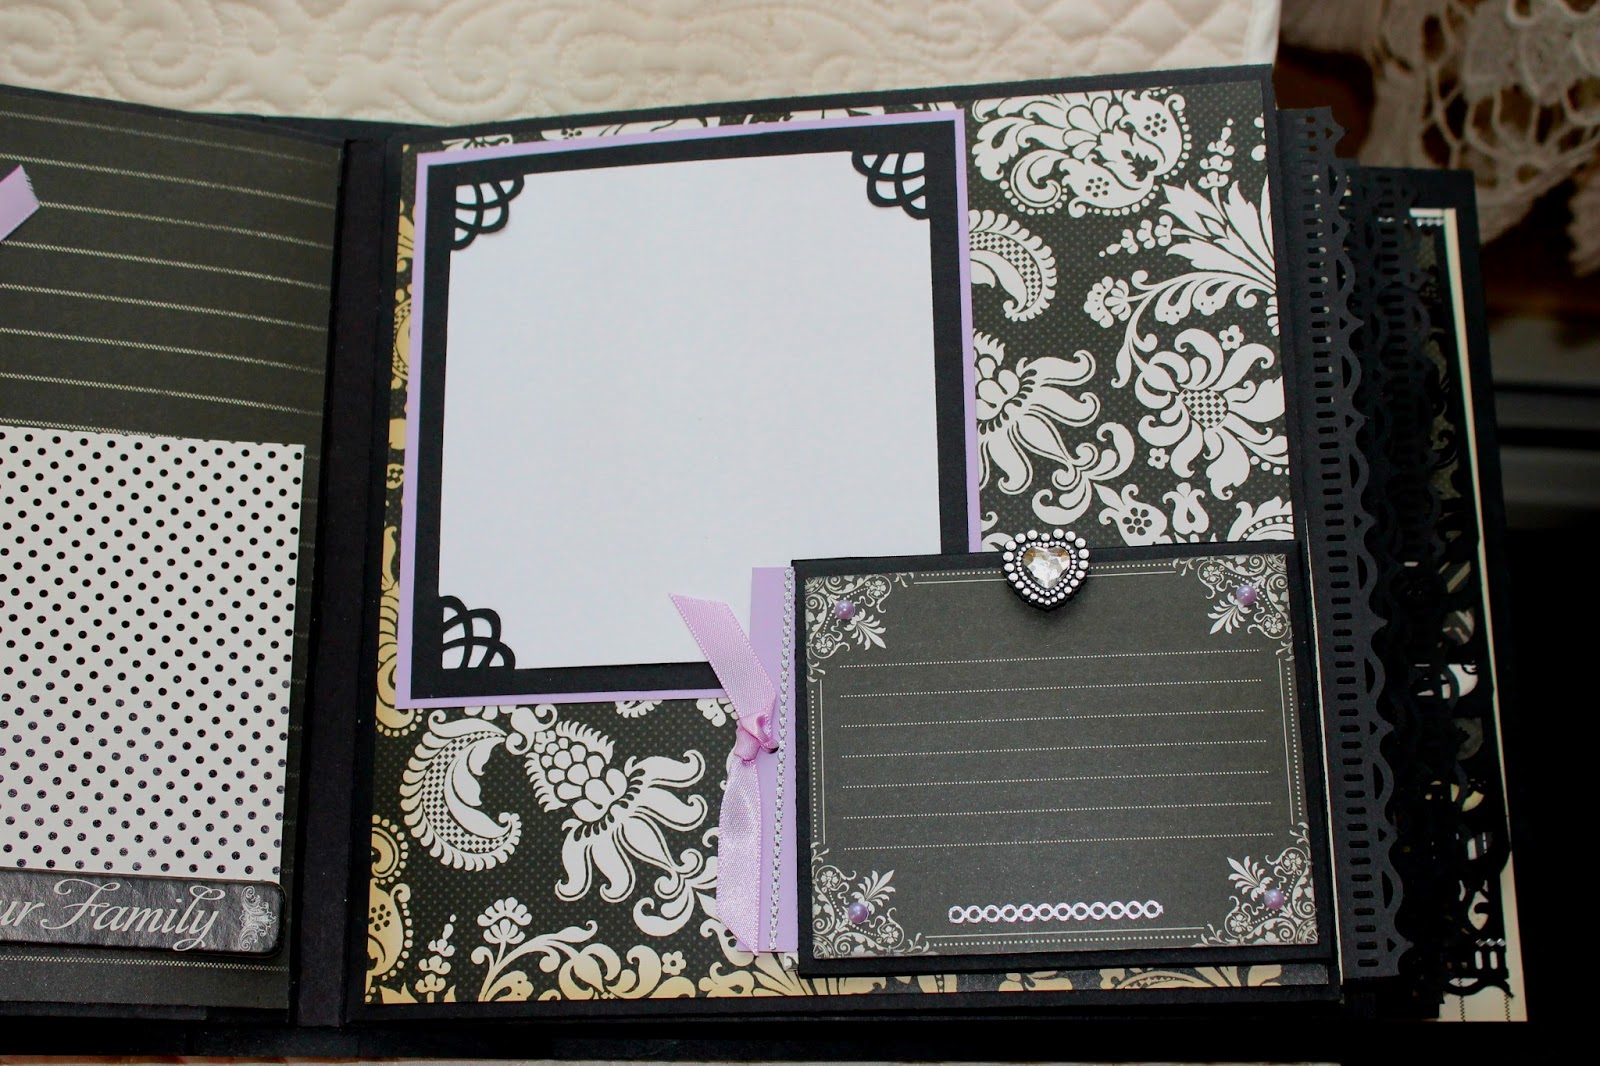
Black & Ivory - Jenna's wedding mini album with a touch of lavendar

Jenna's bridal shower was today and I finished in time !  It was the first gift she opened.  A wood frame for the front from Michael's.

 Black feathers, a variety of flowers, black chipboard makes the base of the album.

I included Jenna's bridal shower invite for today in the front as a keepsake. A metal key is added as I am thinking of my niece and her love of antique keys. I also added silver dazzles from the Front Desk.

 Loved how the flip pockets & the Jolee's jewels with a lavender center turned out.

 Frame cut with Cricut cartridge.

 Double layer pocket.  Touches of black feathers here and there. A nice cameo by Recollections.

 Used my punch by Martha once again for each pull out pocket edge punch.  These hearts are so sparkly and pretty - picked them up at Michaels.

Sunday, April 14, 2013

French Country graphic 45

Hmmm.... what will I make.

French Country Mini Album

 My mini album cover with the matching chip board by Graphic 45.  I added some black & red flowers.  The front stays closed with a magnet hidden under the layers of paper.  The Basic Grey magnets are the best !

 Side view of a stack the deck mini album. I used black cardstock and some black chip board for the base of the book.  You can cut the flap shape I used by hand or on a cricut machine if you have the right soft ware like Sure Cuts a Lot 2.  The front flap shape could be changed to whatever you like.

 Inside the mini. Each page has a flap.  It could hold photos or become a recipe album for your favorite recipe and a photo of you or your loved one making the recipe.  I used a new Martha Stewart punch on this album that I love and feel that I will use over and over again.   

 The mini fits in the box I made....

French Country Graphic 45 Box No. 2

Another French Country Box.... this box is paper mache and painted black.  I fussy cut and chipboarded roster and title for the front.  I even chip boarded the red check square frame as I felt the rooster needed a little more color behind it. 

 I added Tim Holtz feet and changed the color of them to an antique gold to match more of the Graphic 45 metals.  I used a combination of rub n buff and alcohol inks to get the right color.  I used glossy accent to adhere them on to the box. 

  Now, to write directions and make a supply list.  Whew !...no one has any idea how much work and time this takes.  You really have to love what you are making !

French Country by Graphic 45 Box No. 1

 Love this paper! I wanted a cute box to sit on my shelf to hold a mini album I made to fit inside by the same paper line.  This is the top view.  I mod podged the papers on to a wooden box base. I had to make my own patterns for the box sides allowing for the black box to show.  I even covered the inside cover and bottom with paper for a finished look for the mini to sit in. 

 Here is the Tim Holtz knob I added to the front.   I had to use a dremel to counter sink it so I could get the screw long enough to work. I had a small keyhole in my stash that added a perfect touch.  I initially wanted to use Tim Holtz feet but the box is rounded on the sides.  So, plan b was to add wood ball feet to change the look.


 I added metal corners, black flowers and a feather. I used the tags from the paper line to create chipboard accents.  The bottles are something I bought off Etsy that I have been waiting to use and I love the quality of them.  The needed a little airing out after I received them as they are made out of laser cut wood.